October 09, 2026



Two pieces of steel, one join, and two very different routes to it. Ask most smiths how they would fasten a bracket to a frame and they will reach for the welder. Ask them to extend a scroll on a Victorian gate, or to build a billet from stacked layers of high-carbon and nickel steel, and the answer changes.
Forge welding and arc welding both produce a sound, load-bearing joint. They feel nothing alike, they fail in different ways, and they ask different things of your workshop, your fuel and your attention. Here is how to decide between them.
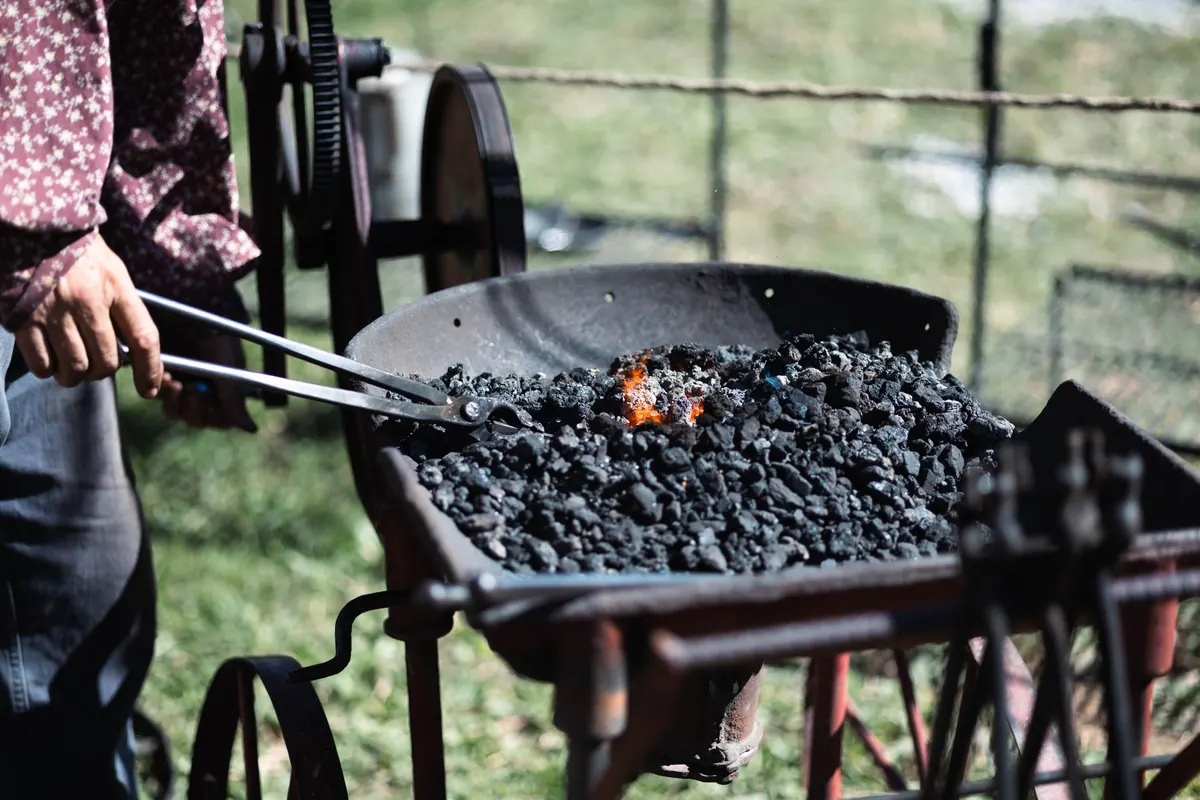
Forge welding is a solid-state join. You bring two prepared surfaces to welding heat in the fire, protect them from oxidising with a flux, and consolidate them under hammer or press. The steel either side of the joint diffuses into itself. Nothing is added, so the finished weld is the same material as the parent stock — which is why it vanishes under the hammer.
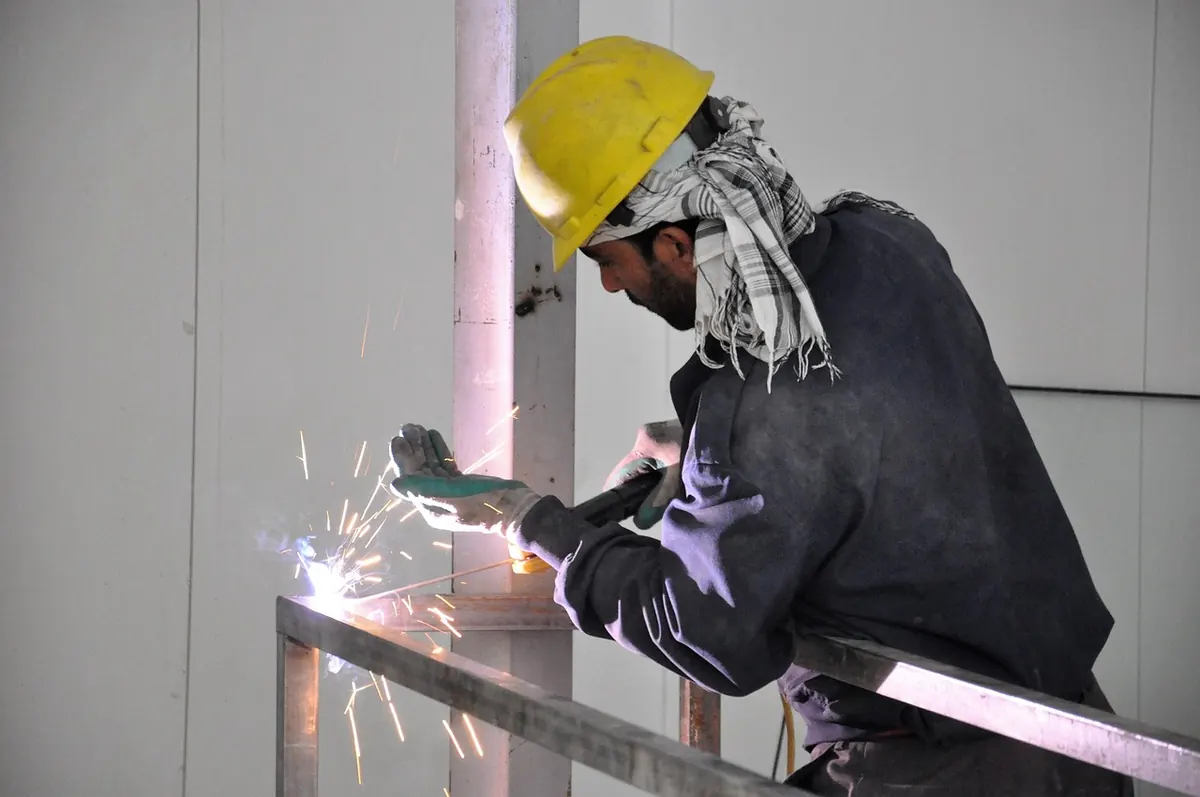
Arc welding is fusion welding. An electric arc between electrode and workpiece melts the parent metal and the filler together, and the pool solidifies as one mass. It is quicker to learn, suits a wider range of thicknesses, and is the standard method for anything that has to be strong, straight and inspected.
Prepare both faces to bright steel — no scale, no rust, no oil. Scarf them if the joint will carry load; a long tapered overlap gives you more surface and a better chance. Bring them to a bright yellow-orange heat, hotter than you would ever forge at, until the surface looks damp and small sparks begin to lift. Dust with borax, return to the fire, bring back to heat, then move fast to the anvil. Tap lightly first to squeeze out flux and slag, then strike firmly. You have seconds, not minutes. If the steel throws sparks like a firework, it is burnt and the joint is scrap.
Clean back to sound metal. Bevel thick plate, leave a small root gap, tack both ends so the joint cannot pull. Set your current, strike the arc and settle into a steady pool. Watch the edges of the pool rather than the arc itself — they tell you whether you are travelling too fast. Chip and brush between passes. Arc welding tolerates a pause, a slightly imperfect fit and a change of mind far better than a fire weld does.
The limits are just as real. Thin sheet is hopeless — it burns before it bonds. Dissimilar metals are generally out. Anything needing certification or non-destructive testing is a bad fit, because a hidden cold shut can sit quietly inside a joint until it fails. And the learning curve is steep: expect a frustrating first afternoon and a growing pile of failed scarfs.
Anything structural, thin, awkward or urgent belongs with the welder. Brackets, frames, railings and trailer repairs; tube and sheet; work in the vertical or overhead position; on-site jobs where you cannot haul a forge along. With the right filler and process, arc welding also joins combinations of metals that a fire weld cannot touch, such as stainless to mild steel.
Speed and repeatability are its real advantages. You can stop, measure, adjust and carry on. The trade-offs are visible: a bead that must be dressed, heat distortion that pulls frames out of square, spatter to clean off, and a dependency on power and consumables.
The magazine for blacksmiths and metalworkers.
Copyright © 2026 Forge Mag. All rights reserved. Forge Mag.