October 09, 2026



The leaf is the blacksmith's handwriting sample. Ask any smith who has been at the anvil for a year and they will have forged dozens, usually from leftover bar. The reason is simple: a leaf packs tapering, shouldering, veining and forming into one small piece you can finish in an evening. Made at keyring size, it becomes a test of hammer control rather than muscle. You need one short length of steel, two hammers and a decent fire. Expect your first one to look like a spearhead. The fifth will look like a leaf.
Begin with 8mm square or 6mm round mild steel, cut to roughly 150mm. Mild moves easily under a hand hammer, costs very little and forgives a missed blow. If all you have is 10mm round, use it, but be prepared to spend longer drawing out the point.
For a piece this size, a lighter hammer is the better teacher. Something in the region of 500–800g with a cross-peen will give you control you simply cannot get from a two-kilo sledge. Set yourself up so the work is at a comfortable height and the anvil edge is clean.
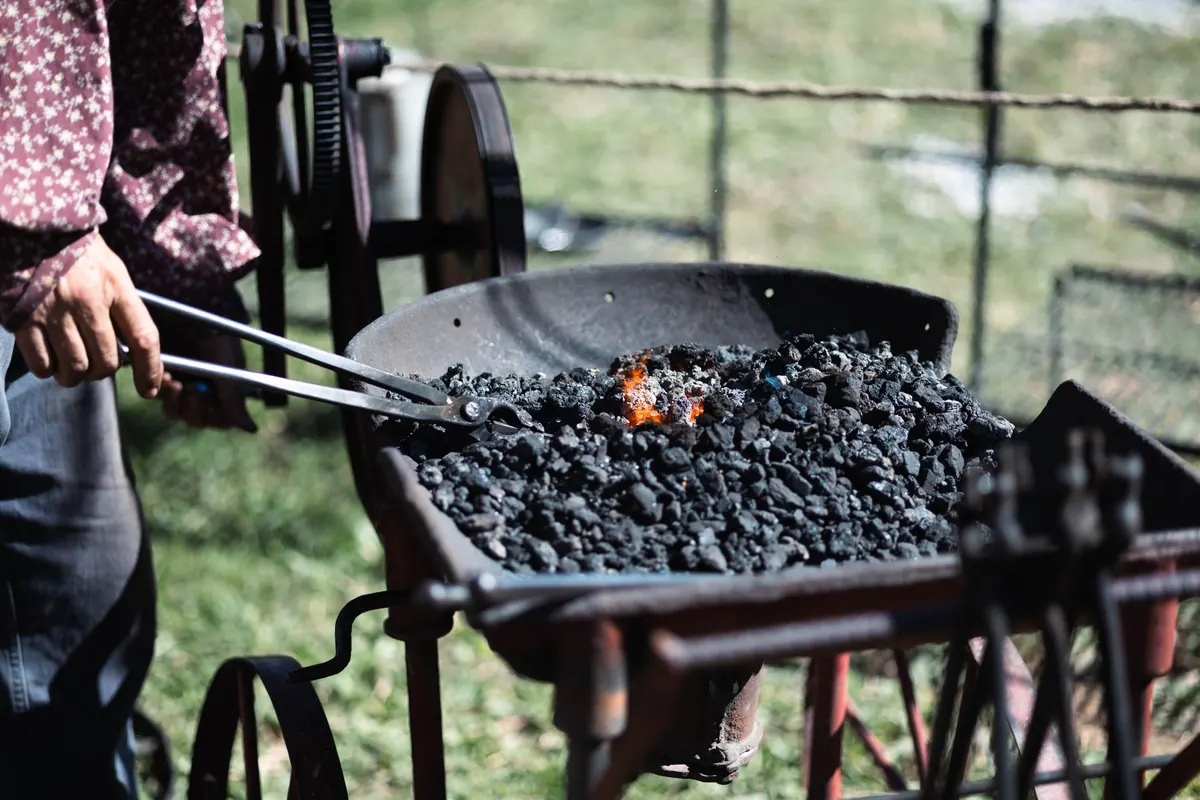
Heat the last 40mm or so to a bright orange, the colour of a streetlamp. Lay the bar across the anvil with the hot end overhanging the edge, tip pointing away from you, and bring the hammer down so the face lands on the far side of the hot section. You are driving steel forward and out, not simply squashing it down.
Two or three blows, then rotate the bar a quarter turn. Two or three more, rotate again. That rotation is the whole trick. Skip it and you will produce a flat wedge with sharp corners instead of a taper. Aim for a taper running about a third of the bar's length and finishing in a blunt point. Avoid anything needle-fine: a very sharp tip burns away, folds over or vanishes the moment you start veining.
Never hammer below a dull cherry red. Cold or nearly cold steel tears, splits and punishes your elbow, and the surface you were so careful about will scar. Back in the fire, brief and often, is the habit to build. If the taper drifts off-centre, correct it in the next heat with light blows rather than trying to bully it straight.
The shoulder is the step where the stem meets the blade, and it is what separates a forged leaf from a piece of bar someone hit with a hammer. Heat the area just behind where the blade will begin and lay the bar across the anvil with that line sitting right on the edge. A few firm, angled blows over the edge push metal down and back, creating a short neck that opens into the blade.
Then dress it. Light planishing blows with the flat face smooth the transition and remove the worst of the marks. Shouldering is really a hammer-accuracy drill: you are aiming one specific part of the hammer face at one specific spot on hot steel, repeatedly. Watch two things. Don't let the shoulder thin out, and don't stretch the neck. A stem of 20–25mm reads well; longer looks spindly, however neat the blade is.
With the shoulder set, flatten the blade itself using light blows over the flat of the anvil, turning the stock as you go, so the leaf widens into a broad, slightly curved shape rather than a flat strip.
Veining is where the piece tells you whether the previous stages went well. Work hot, work quickly, and remember that fewer, deeper veins look better than a scatter of shallow ones.
The simplest reliable route for a beginner is an open scroll. Heat the last 25mm of the stem, curl it around a 6mm bar with scrolling forks or a pair of pliers, and tighten it until the curl closes on itself with a clear gap for the split ring to pass through. Leave yourself 3–4mm of room. If the ring won't fit, reheat and open the curl slightly rather than forcing it cold, which risks cracking the scroll or marking the finish.
If you want a fully closed eye, you will need a welding heat and a clean scarf — good practice, but a project in itself. Get the open version right first.
Brush the piece with a wire brush while it is still hot, around black heat, and you will get an even dark grey surface. Swap to a brass brush at the same temperature for a warmer, golden tone. Then apply a finish while the metal is warm enough to absorb it: beeswax, paste wax or a little boiled linseed oil worked in with a rag.
Keys live in pockets and handbags, so expect wear. A waxed finish over brushed steel is easy to top up and ages honestly; heavy lacquer chips and looks worse than the wear it was meant to prevent. One caution with boiled linseed oil: don't leave the oily rags bundled together, as they can self-ignite.
Forge these in batches. Cut ten lengths of bar, taper them all while the fire is going, then shoulder them all, then vein them all. You will learn more from ten leaves in one session than from one leaf in ten sessions, because your hammer hand starts to remember the angles.
Keep the first one. Not because it is good, but because in a month you will be able to see exactly what changed. Then start bending the rules: a longer stem, a fishtail point, a closed eye, a pair of leaves from a single bar. Every variation is the same three techniques under a different name, and every one of them makes your hammer control a little more deliberate.
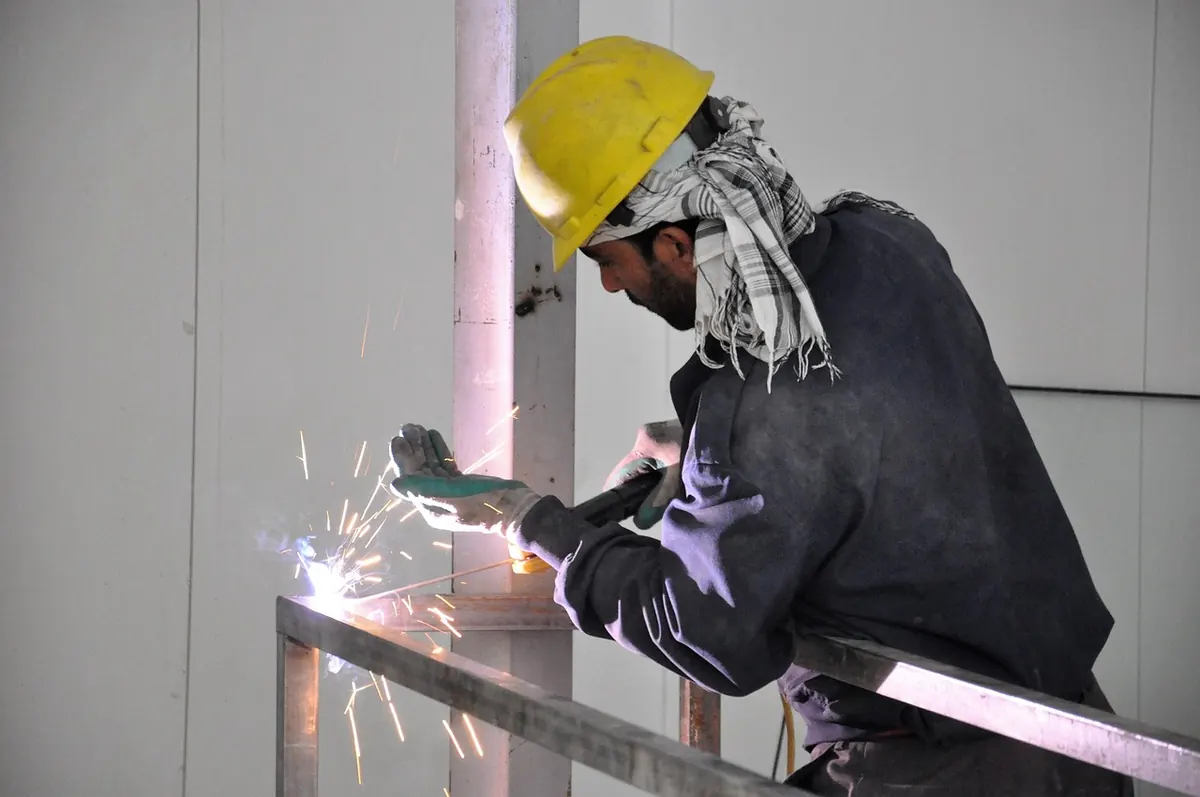
Photo: Anestiev / Pixabay
The magazine for blacksmiths and metalworkers.
Copyright © 2026 Forge Mag. All rights reserved. Forge Mag.