October 09, 2026



A good second-hand anvil will outlast you. A bad one will sit in the corner of the workshop for a decade, quietly reminding you of the afternoon you handed over cash in a farmyard.
Most smithing kit is bought at a distance these days: an auction catalogue, a marketplace listing, a grainy photo of something rusty on a pallet. Everything looks solid in a thumbnail. What follows is the routine worth running before money changes hands — questions to ask before you travel, and what to look at when you get there.
Ask three things: how much does it weigh, how do I load it, and has it been welded or repaired? A seller who won't answer any of those is telling you something useful.
Ask for photographs of specific areas rather than overall shots — the face and edges of an anvil, the jaws and rivet of a pair of tongs, the screw of a vice, the firepot of a forge. If it's an auction, read the condition report and the terms. Buyer's premium, VAT, collection windows and "sold as seen" all change the real cost, and plenty of bargains evaporate once the fees are added.
Take a kit with you: a short length of square stock, a ball bearing or small hammer, a torch, a tape measure, a straight edge, gloves and a ratchet strap.
An anvil is the one purchase where a hidden fault makes the tool worthless, so slow down here.
Wire-brush a patch of the face first — rust, paint and grit all mute the sound. Drop a ball bearing from roughly 250mm above the face. A sound anvil returns it most of the way up; a dead one swallows it. Tap with a hammer too: you want a clear ring and a lively bounce back into your hand. A flat thud with almost no rebound usually means cast iron, the classic "anvil-shaped object" that dents rather than moves metal.
Do the same at the heel, the horn and both ends of the face. A single dead patch can mean a delaminated face plate.
Chipped edges are normal on a working anvil and can often be dressed. Cracks are not. Look closely at the corners of the hardy hole and around the pritchel hole, where cracks like to start, and check the feet and the waist for old welds. Run a straight edge along the face: a slight sway is fine, a deep dip in the middle tells you the anvil has had a hard life.
Look for a step where the face meets the body. A lifting or welded-on plate is a problem waiting to happen.
English anvils often carry the maker's name and a weight stamped in the old hundredweight system — hundredweight (112lb), quarter (28lb) and pounds — so "1 2 3" means 171lb, a little over 77kg. If weight matters for transport, ask for a photo of it on bathroom scales.
Tongs are cheap new and often overpriced second-hand, so be fussy. Pick them up, open and close them, and watch the jaws.
Thin, rebar-based tongs bend when they get hot and loaded. Good tongs are chunky through the boss and spring back when you open them. The same logic applies to hammers and hardies: check for split handles, mushroomed heads and a slack eye.
For blacksmithing you want a leg vice — the sort with a long leg down to the floor — rather than a light bench vice. Wind the screw from fully closed to fully open and feel for it.
Grinding, tight spots or a screw that goes slack in the middle of its travel all point to a worn thread. Check the box (the nut) and the spring under the front jaw. Look hard at the leg and the mounting bracket for cracks and old welds, especially at the bottom of the leg, where a dropped vice cracks first. Close the jaws and sight along them; if they only touch at one end, the vice won't hold anything square.
On bench vices, check the slide and the quick-release trigger, and note whether the jaw inserts are replaceable or welded in. A vice with a cracked leg is usually firewood.
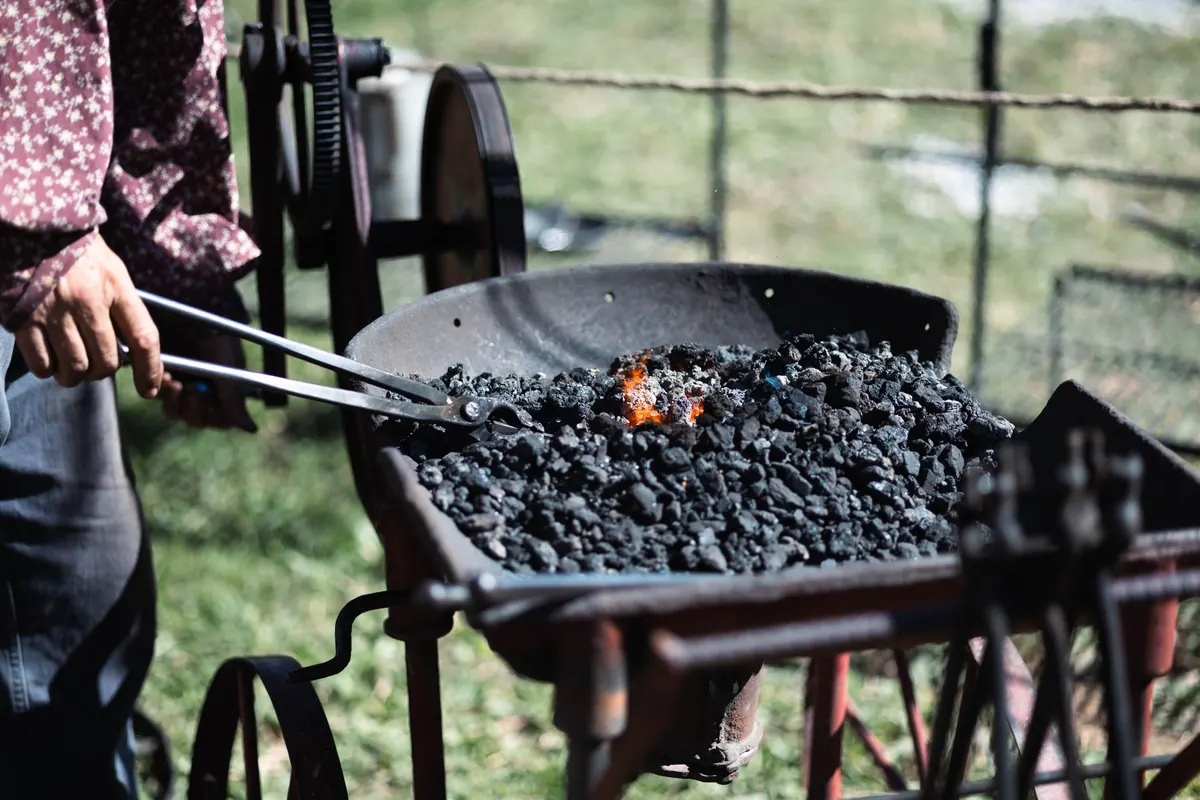
Firepots burn out. That's the whole story with solid fuel forges, and it's what you're inspecting for.
Check the firepot for thin patches, cracks and holes, and be suspicious of anything patched with fire cement — that's usually a warning rather than a repair. Confirm the clinker breaker moves freely and that the tuyere isn't clogged with ash. Turn the blower by hand: it should spin with a light puff and no grinding or shaft wobble. Cast blower housings crack when dropped, and electric blowers are worth running before you buy.
Gas forges need a different eye. Look for cracks in the shell, spalling or crumbling refractory lining, and a battered or cracked burner. Hoses, regulators and fittings on any gas forge of unknown history should be checked by a competent person before you use them — LPG isn't a subject for guesswork, and if you're unsure, take professional advice.
One more thing on older kit: some hoods, gaskets and insulation materials contain asbestos. If you can't identify a material with confidence, don't disturb it and get proper advice before you start cutting or drilling.
An anvil is somewhere between 50kg and 250kg of awkward. Bring a friend, gloves, a sack barrow or trolley and a strap, and ask about steps, gravel and narrow gates before you arrive. A tail lift is worth more than a discount.
Then load it properly, strap it down, and get it into the workshop before you start planning what to make on it. The best second-hand tools are the ones you only buy once.
Photo: LindaLioe / Pixabay
The magazine for blacksmiths and metalworkers.
Copyright © 2026 Forge Mag. All rights reserved. Forge Mag.