October 09, 2026



Heat treatment is the point at which a shaped piece of steel stops being a forging project and starts being a tool. Done well, a soft, scratched blank turns into something that holds an edge for a season and shrugs off a drop onto the workshop floor. Done badly, the crack appears halfway through polishing and you lose the whole thing. Most failures in home workshops are not mysterious. They come down to a handful of predictable mistakes, and nearly all of them are about heat: the steel got too hot, it cooled too fast or too slowly, or it was never tempered properly afterwards.
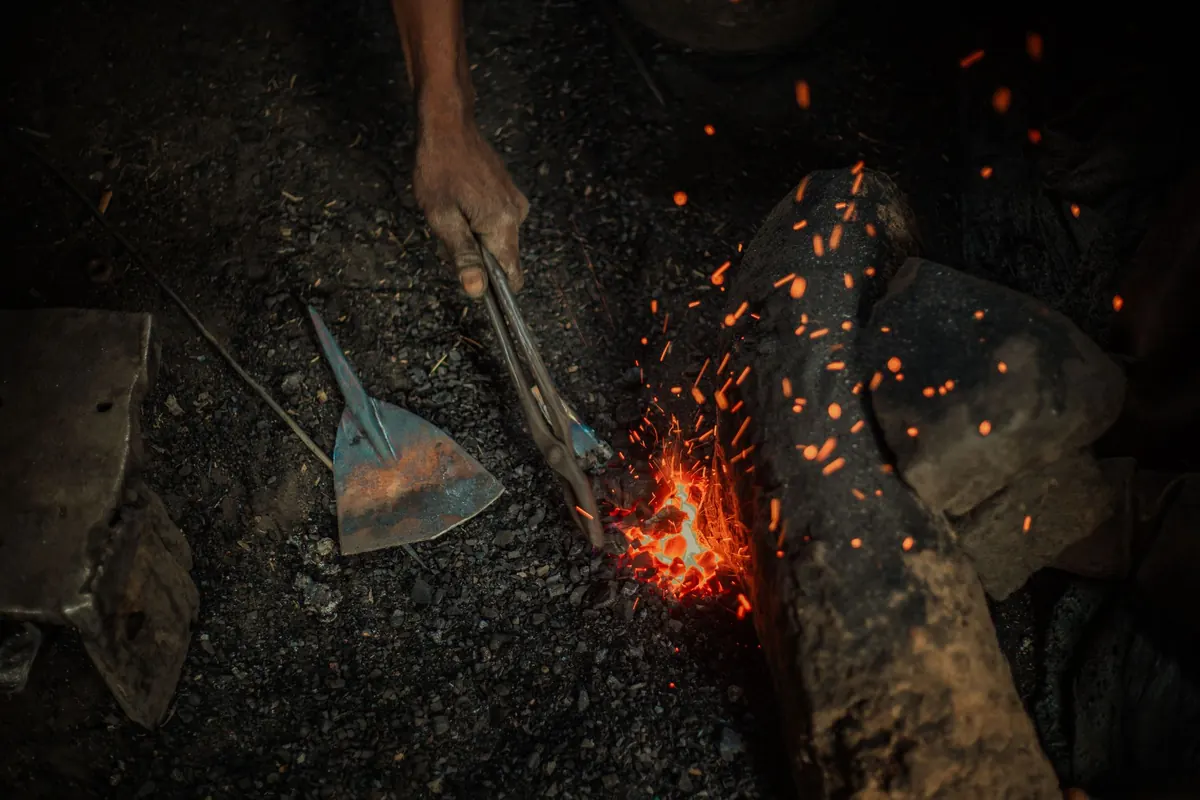
Simple carbon steels — 1080, 1084, 1095 and their relatives — harden from roughly 780–820°C. In a dim workshop that is a dull orange, considerably cooler than most beginners expect. Under strip lights, or with sunlight coming through the door, the same steel looks as though it needs to go brighter still, so you push it towards the bright yellow you have seen in videos and cook the grain before the quench has even begun.
Overheated steel misbehaves in three ways. The grain grows coarse, so the hardened blade is brittle rather than tough. Carbon burns off the surface as heavy scale, leaving a soft skin over a hard core. And the risk of cracking in the quench climbs sharply, particularly at a thin edge or where the thickness changes quickly.
The magnet is the classic field gauge. Simple carbon steels lose their magnetism at around 770°C, so a piece that has just gone non-magnetic needs only a little more heat. Watch for decalescence as well — the faint shadow that sweeps through the steel as it changes structure — though you need dim light and a moment of stillness to catch it. Heat slowly, watch the thinnest section rather than the thickest, and do not hold the blade at temperature any longer than it takes for the whole piece to even out.
Quench speed does real work. Too slow and the steel never fully hardens; too fast and it cracks. Water sits at the fast end and will split a 1095 blade more often than not. Warm oil is the sensible middle ground for most home work. Canola or rapeseed oil held at around 50–60°C is a well-tried choice for 1080 and 1084, while the shallower-hardening W-series steels often want water or brine. What you should avoid:
Use a metal quench tank with a lid, work outside or with good ventilation, and keep a second lid and a bucket of sand or water close by. If the oil does catch, smother it — never throw water at burning oil. A quench tank is the one part of the workshop where a little planning genuinely prevents a bad evening.
Once the steel leaves the fire you have a second or two before it drops out of the hardening range. Any pause to check the colour, reposition the tongs or find the tank is a pause that costs you the blade. Have the tank open, at the right temperature and directly in front of you before the steel goes into the forge.
Enter the quench point-first or edge-first and straight down, decisively. Then move the blade up and down, or in a slow figure of eight, to break through the vapour jacket that forms around hot steel. Do not scrape it along the bottom of the tank, and do not wave it side to side — that is how warps start. Keep it fully submerged until the oil stops sizzling.
Forging and grinding both leave stress in the steel, and grain that has grown uneven. Three normalising cycles before hardening — bringing the steel to just past non-magnetic and letting it cool in still air, each cycle a little cooler than the last — refines the grain and relieves that stress. It is a slow, unglamorous step, and it is the reason some blades survive the quench and others split.
Do your grinding before hardening as well, leaving the edge about a millimetre thick. Sharpening a hardened blade on the grinder is a good way to overheat the very edge you have just spent an evening hardening.
Freshly quenched steel is glass. It will hold an edge and it will also shatter if you look at it wrongly. Tempering is what trades a little hardness for a great deal of toughness, and it is the step most often rushed. As soon as the blade is cool enough to hold for a moment, get it into the oven. Leaving a hardened blade on the bench overnight is asking for trouble.
Two cycles of one hour at 175–205°C, cooling to room temperature in between, is a reliable starting point for simple carbon steels. Domestic ovens lie about their temperature, sometimes by twenty degrees or more, so buy an inexpensive oven thermometer and trust that instead of the dial. A tray of sand to buffer the heat helps, and a small toaster oven tends to hold a setting more steadily than a full-size range.
The failure modes sit at both ends. Temper too low, or for twenty minutes, and you keep the brittleness you were trying to remove. Temper too high — up towards the blue and purple you see on springs and chisels — and the edge rolls over on the first piece of hardwood. Oxide colours are only a rough guide, and only on clean, polished steel in dim light.
Car springs, farrier's rasps, lawnmower blades and mystery bar stock all harden differently, and some contain enough alloying elements that no amount of care will make a simple oil quench work. If you cannot identify the steel, cut a small coupon from the same bar and heat treat that first. Better still, keep a notebook: grade, hardening temperature, quench medium, tempering temperature, results. After a dozen entries you will have a record worth more than any chart, because it describes your fire, your oil and your oven.
None of this is difficult, but it does demand attention at exactly the moments when the workshop is at its most exciting. Slow down before the quench, keep notes afterwards, and the blades that used to crack will start coming out of the oil straight, hard and ready for the stones.
Photo: Soft__Work__ / Pexels
The magazine for blacksmiths and metalworkers.
Copyright © 2026 Forge Mag. All rights reserved. Forge Mag.