October 09, 2026


Every blacksmith ends up making a bottle opener. It tends to be the first project that asks for all three of the basic skills in one sitting — drawing out, bending and finishing — and the first one that has to actually work. A hook can hang slightly crooked and nobody minds. A bottle opener either levers a cap off or it does not, and that honesty makes it a very good teacher.
This version takes one length of mild steel round bar, a hammer, something to hit it on and about an hour of forge time. The tool list is deliberately short: no punch, no welder, no power hammer. If you can forge a taper and control a bend, you can make this.
Strip the design back to what the job actually requires. An opener needs a thin lip that slides under the crimped edge of a crown cap, and a shoulder that presses on the top of the cap while you lever downwards. Everything else — the length, the twist, the hanging loop — is handle and decoration.
New smiths over-build this project. They draw out a long decorative tail, add a twist, try a dragon head on the end, and then find the hook itself is too wide to catch anything. Do the plain version first. Sketch it on the bench in chalk if that helps: a straight shank, a short taper and a hook curling back towards the shank.
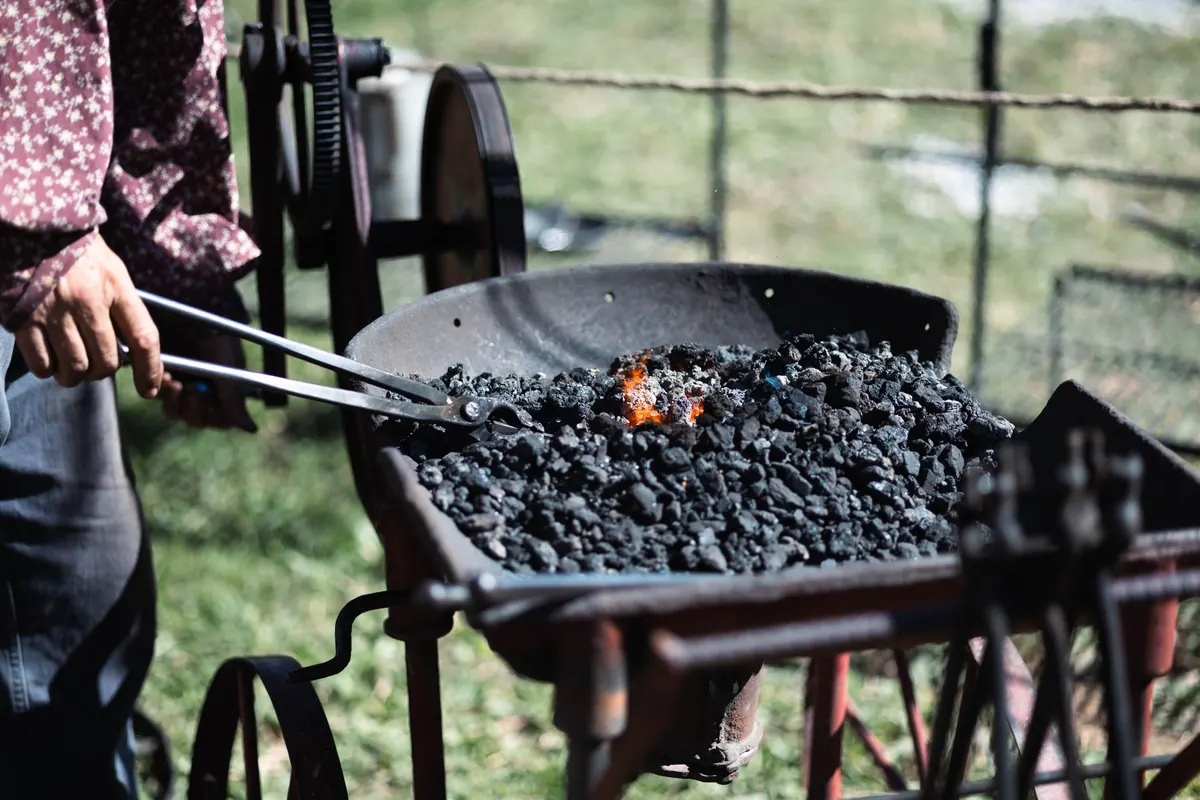
Heat the last 60mm or so of the bar to a bright orange, easing towards lemon yellow. Take it to the anvil and start drawing it out.
Work with the bar held at a slight angle across the far edge of the anvil, and start your blows just behind the tapered section, pushing metal towards the tip rather than flattening the tip itself. Rotate the bar a quarter turn every couple of blows. That rotation is the whole trick: hammer on one face only and you will produce a flat blade with sharp edges that folds over when you bend it.
Aim for roughly 12mm wide and 3–4mm thick at the very tip. The transition from full bar to taper should be a smooth, gradual shoulder — not a step. A step becomes a crack the moment you bend it.
Reheat as soon as the steel drops below orange. Working dull steel does not shape it, it just dents it and risks cracking the corners.
This is the part that decides whether your opener works.
Take another heat on the tapered end. The easiest bend is over the horn of the anvil, or over a short length of pipe held in the vice if you are working without one. Curl the tip back on itself so the hook opens towards the shank, not away from it.
You are looking for an opening of roughly 25–30mm — wide enough for a crown cap to sit inside, narrow enough that it cannot slide straight back out. Curl the tip a little further than you think you need. The lip should point back down towards the shank, so the cap edge sits in the crook of the hook.
Check it against an actual bottle before you commit. Cool the end in the water bucket, try it, and adjust. Bending, testing and adjusting is normal; getting it right first time is luck.
With the working end done, the rest of the bar is yours. A straight handle is perfectly respectable, though a gentle taper towards the back end looks deliberate and balances the tool in the hand.
If you want a hanging loop — and you do, because openers live on hooks near the fridge — bend the last 40mm around the horn and close it with light hammer blows. Keep the internal opening at least 20mm so it will drop over a nail or a cup hook. Forge the loop a little thicker than you think you need, since this is the part people grab.
If you want a twist in the handle, do it now while the bar is still long enough to grip on both sides of the twist. Even, bright orange heat and steady pressure beats brute force.
Filing matters more than most beginners expect. Run the half-round file along the underside of the lip and take off any burr or rolled edge. A burr there will scratch the cap and slip off it. Tidy the shoulders and round off any sharp corners on the handle, then brush the whole piece with a wire brush at a low red heat, just as the colour starts to leave the steel. That gives you a clean grey surface instead of flaking scale.
For the finish, warm the opener until it is hand-hot but nowhere near glowing, then rub on wax with a rag and let it cool. Two thin coats are better than one thick one. Boiled linseed oil works well too. Avoid cooking oil — it stays sticky and picks up dust.
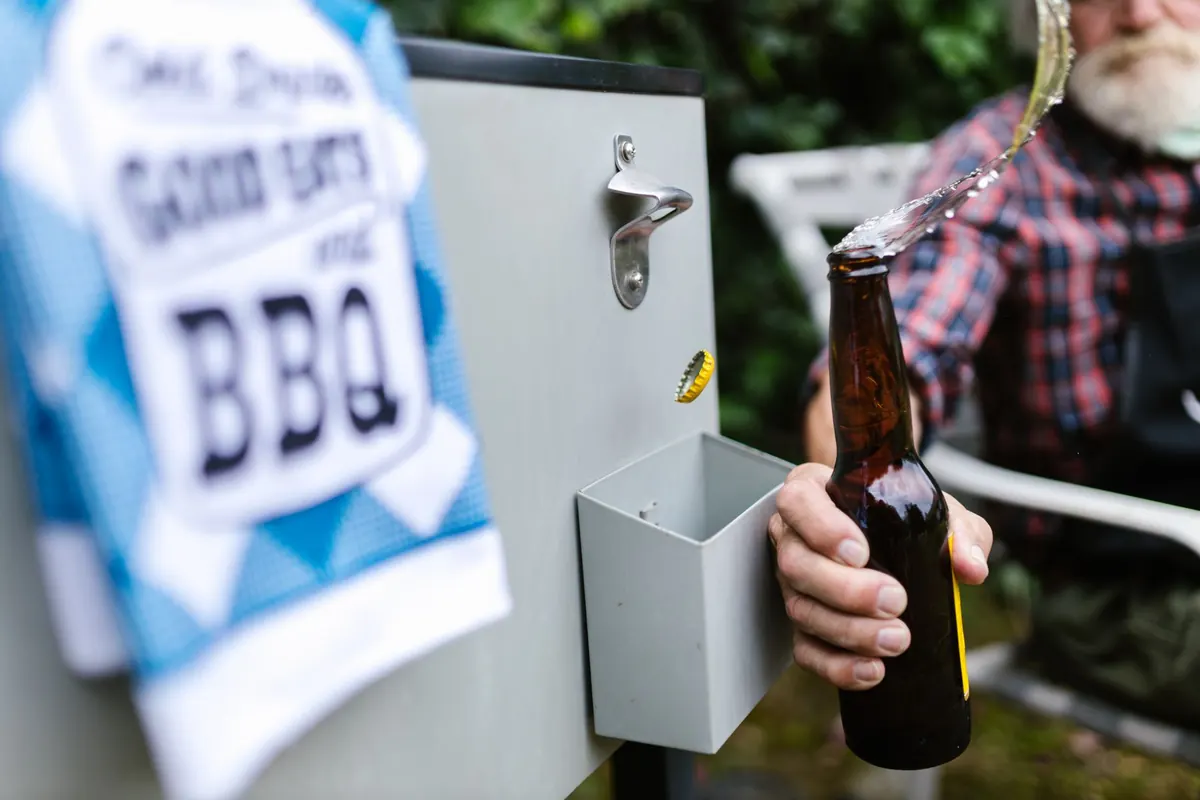
Open a bottle. If the lip slips off the cap, the hook is too wide or the lip too blunt; reheat and close it up slightly. If the hook itself bends under load, the metal is too thin at the shoulder — draw it out less next time and leave more meat. Try two or three different bottles, because caps vary a little.
Put the wonky one in a drawer rather than the scrap bin. Then make five more using exactly the same sequence, and note what changed between them: a longer taper, a tighter hook, a neater shoulder, a cleaner finish. That repetition is where the skill comes from, and a bottle opener is cheap enough to make in batches.
Keep an offcut of the same bar aside to test your finish on, and remember the usual workshop rules — glasses on, tongs gripping properly, and good ventilation if you are burning oils or waxes off a finished piece. Then find a bottle and check your work.
Photo: RDNE Stock project / Pexels
The magazine for blacksmiths and metalworkers.
Copyright © 2026 Forge Mag. All rights reserved. Forge Mag.